Sometimes we need super simple when it comes to projects and that is what this is. Of course you could jazz it up with a ribbon or some craft goodies but I like the way this looks right now. Read till the end for a Chomas Creations coupon code!
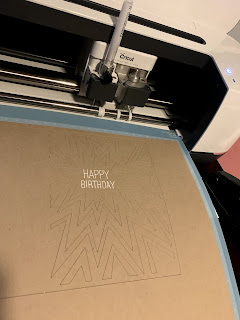
Now a little hint on fonts and getting this to work in your Cricut Maker. Notice I have 2 fonts here. The top one is an open type font. It will cut or draw exactly like you see it. It will NOT fill in. The birthday is a single line font, and will also draw like you see it. This was actually a file in the Cricut store. You can find fonts called skinny fonts or journaling fonts that will look close to single line as well on most font sites.
Now for the attach feature. If you have not had a lot of experience with the Cricut software, it tries to put every single thing you put on the mat in the upper left hand corner. You have to work around this. What I have done here is created a rectangle. You then need to select everything shown, right click on it, and click on attach. Make sure the writing is set to write. Also notice that I didn't want to cut this so while the rectangle is set to cut, I did not put the blade in. This was a refolded card. You could always cut your own too. Also notice I do not have the rectangle exactly in the corner but out to the first set of lines. That is because that is where the machine always starts and if I had it all the way in the corner it would move my design out to that spot.
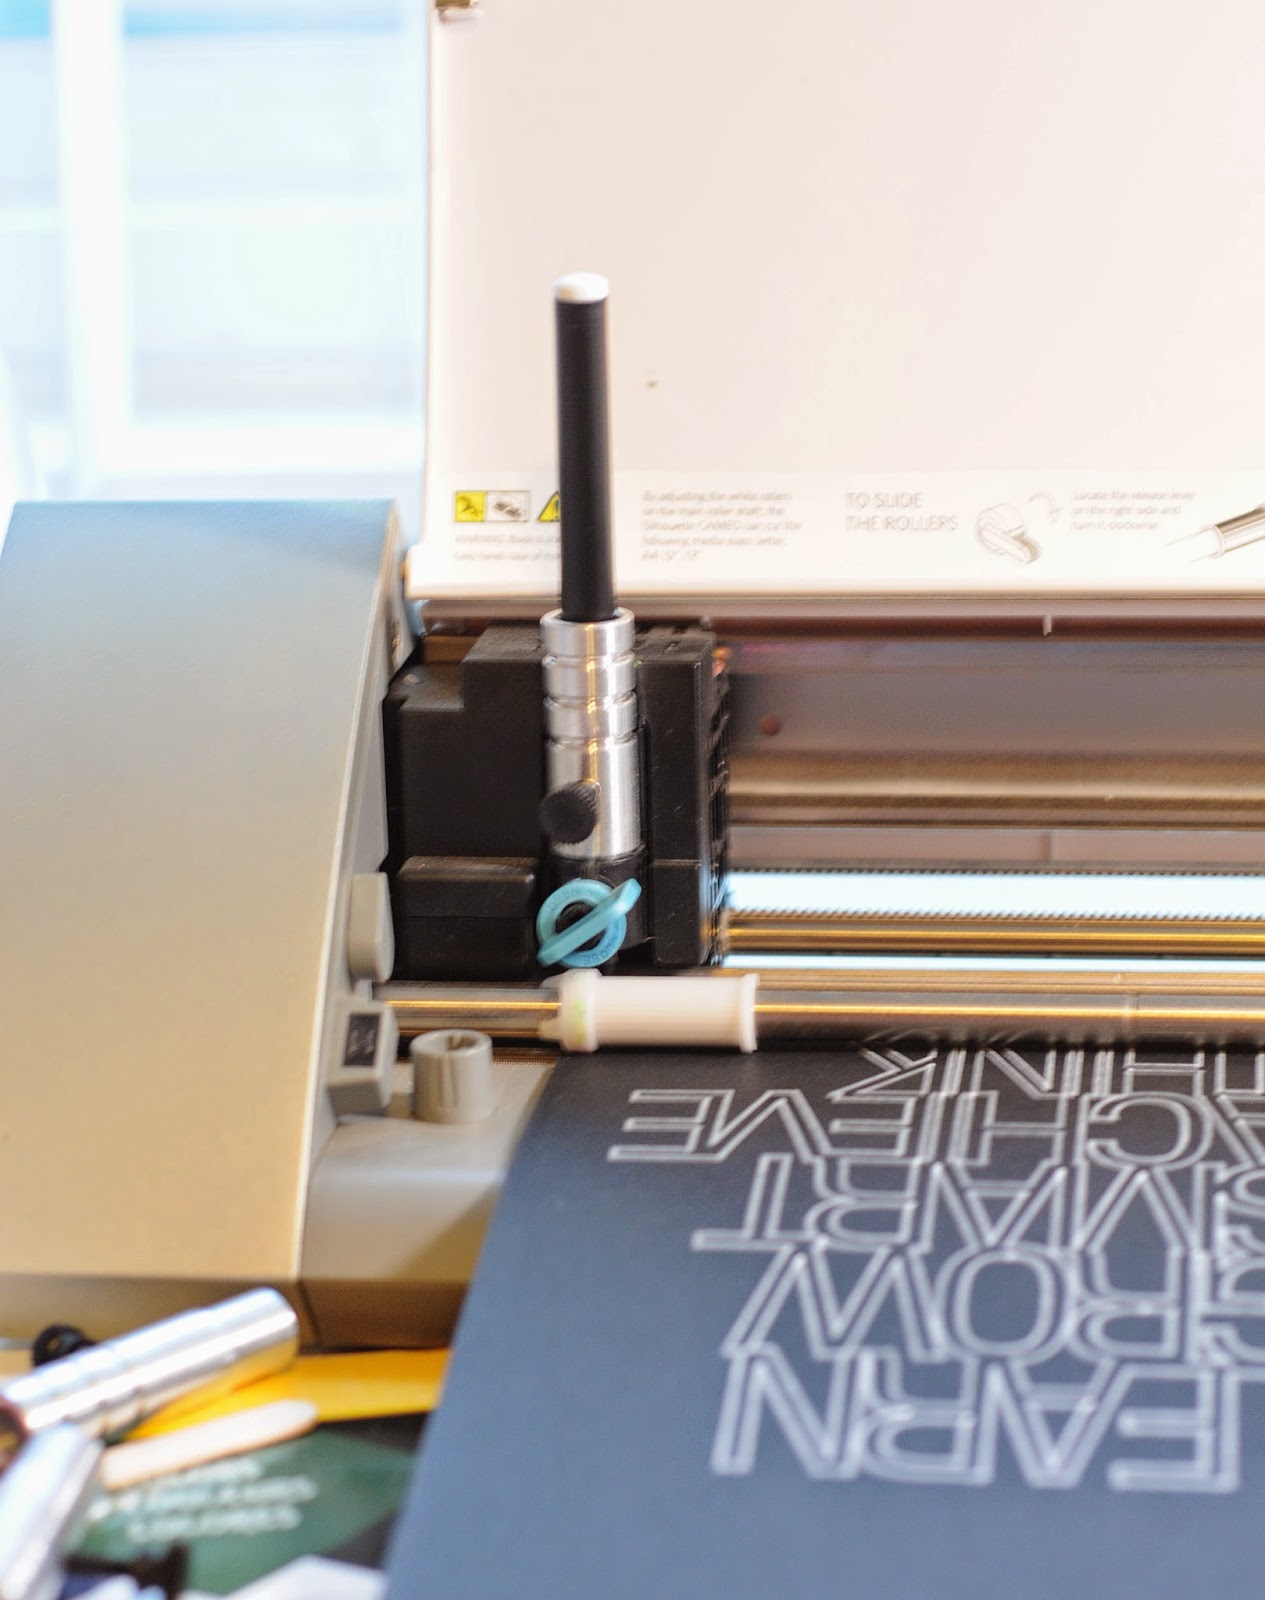
To adjust the height of the pen in the machine I use a popsicle stick. One will come with your adjustable marker holder. I do this after the mat is already in the machine.
I did move all the rollers over, which is easy to do, so that they did not smear the white ink.
Ready to get started with any of the tools Chomas Creations has to offer? Use the coupon code november18 at checkout to save 10% off in the
Chomas Creations store!
Like what you see? Leave a comment to let me know! Thanks Amy Chomas


