Easier shopping is here!

For those that wanted easier shopping, click on the shopping tab above or visit http://www.amychomas.com/

We are now taking credit card payments, or you can still use paypal! Any questions, you can send them to amyc222@yahoo.com

Want to learn how to use your new holders? Look to the right of my blog to see everything in categories!


Showing posts with label Embossing/scoring kit for the Cricut. Show all posts

Sunday, March 23, 2014

Senior photo mini album with Chomas Creations ajustable holder


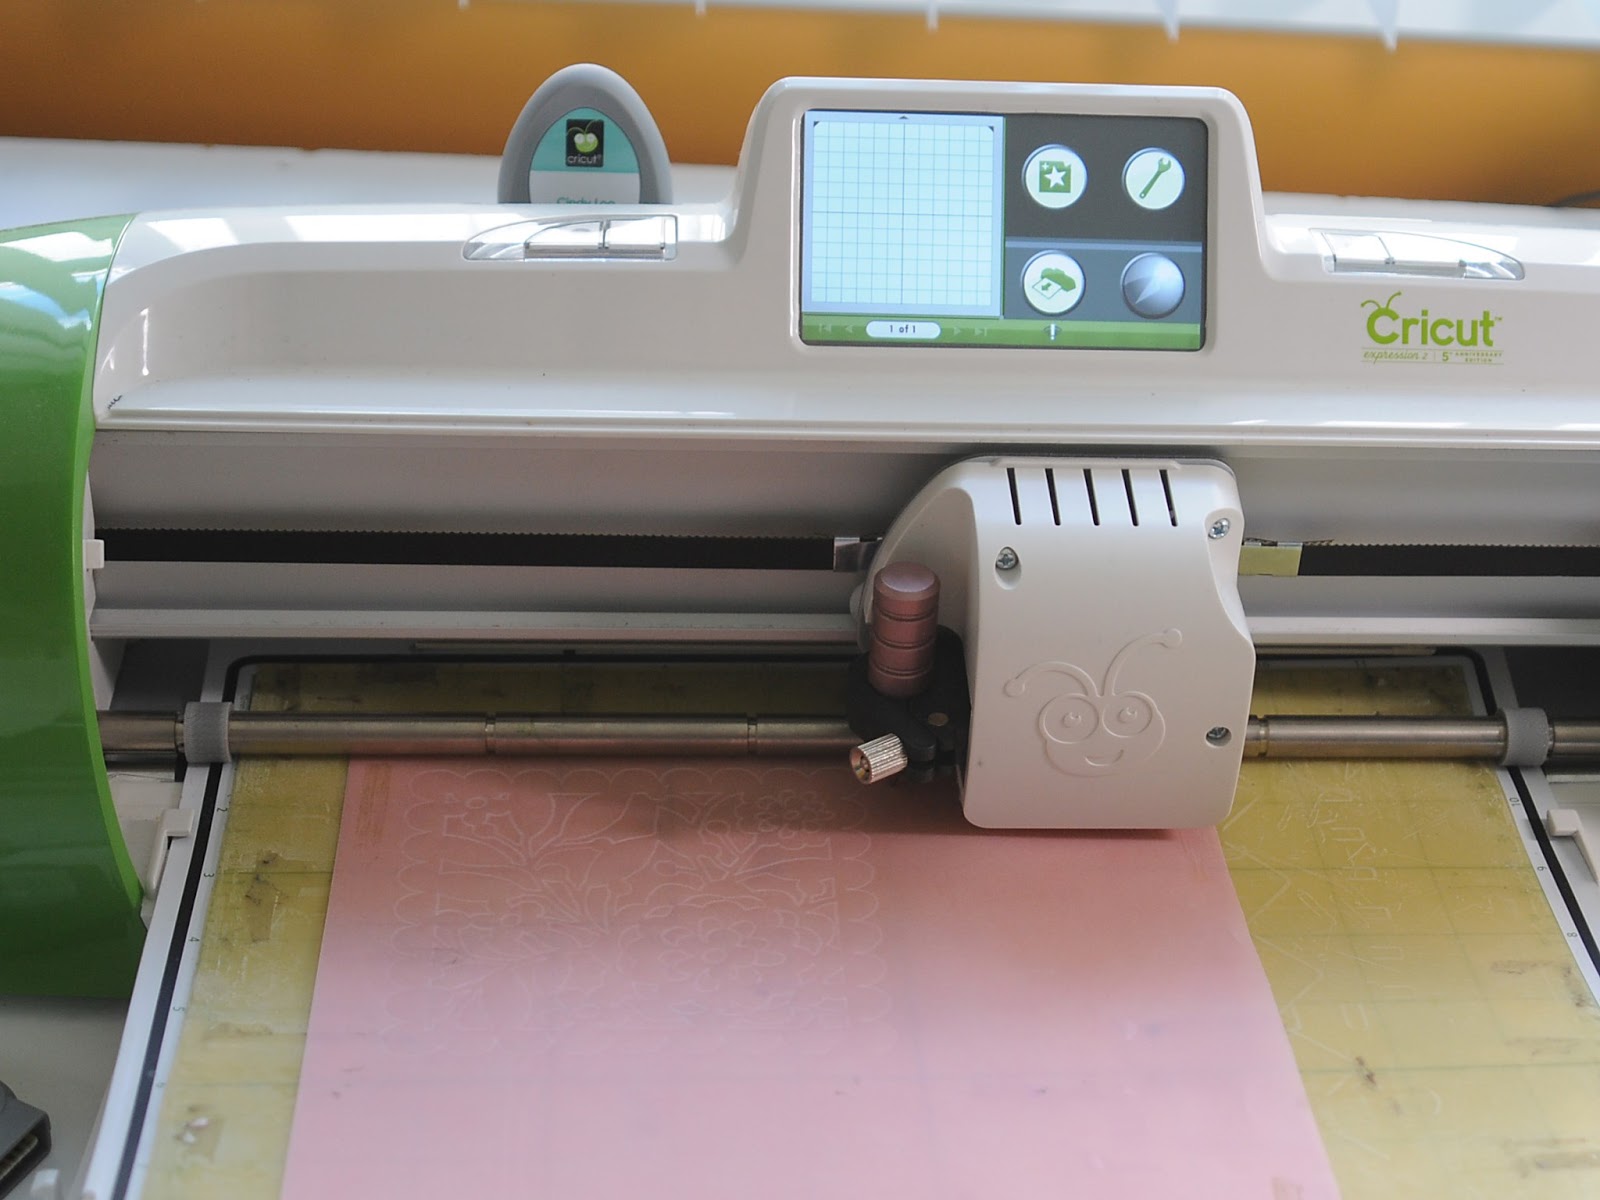
Leave it to me to leave this to the last minute!  Just 2 days till my daugther's grad party and I'm still working on little projects (ok, so this one is kinda a big thing time wise!  I had this mini album sitting around just waiting to be done (2 pieces of acrylic and 4 pieces of chipboard, I had to decorate them).  I thought it would be cool to write on the arylic sheets of the album!  So I added the sheet with the blue protective cover on the bottom (that is why it looks blue in the picture) to my Cricut mat, then added some blue painters tape to keep it super secure, and added my Chomas Creations adjustable marker holder to the Cricut Expression 2.  Now being that I had this piece of acrylic in the machine that is higher then your standard cardstock, I wanted to adjust the height of my Bic Mark-It so that it didn't write on the surface of the acrylic.  So this time I added the popcycle stick on TOP of the acrylic sheet when choosing my height.  This kept it higher!

 I used a speed of 2 (didn't want my marker to smear!) and a pressure of 2 then drew my design with the Chomas Creations adjustable marker holder for the Cricut and a Bic Mark-It.

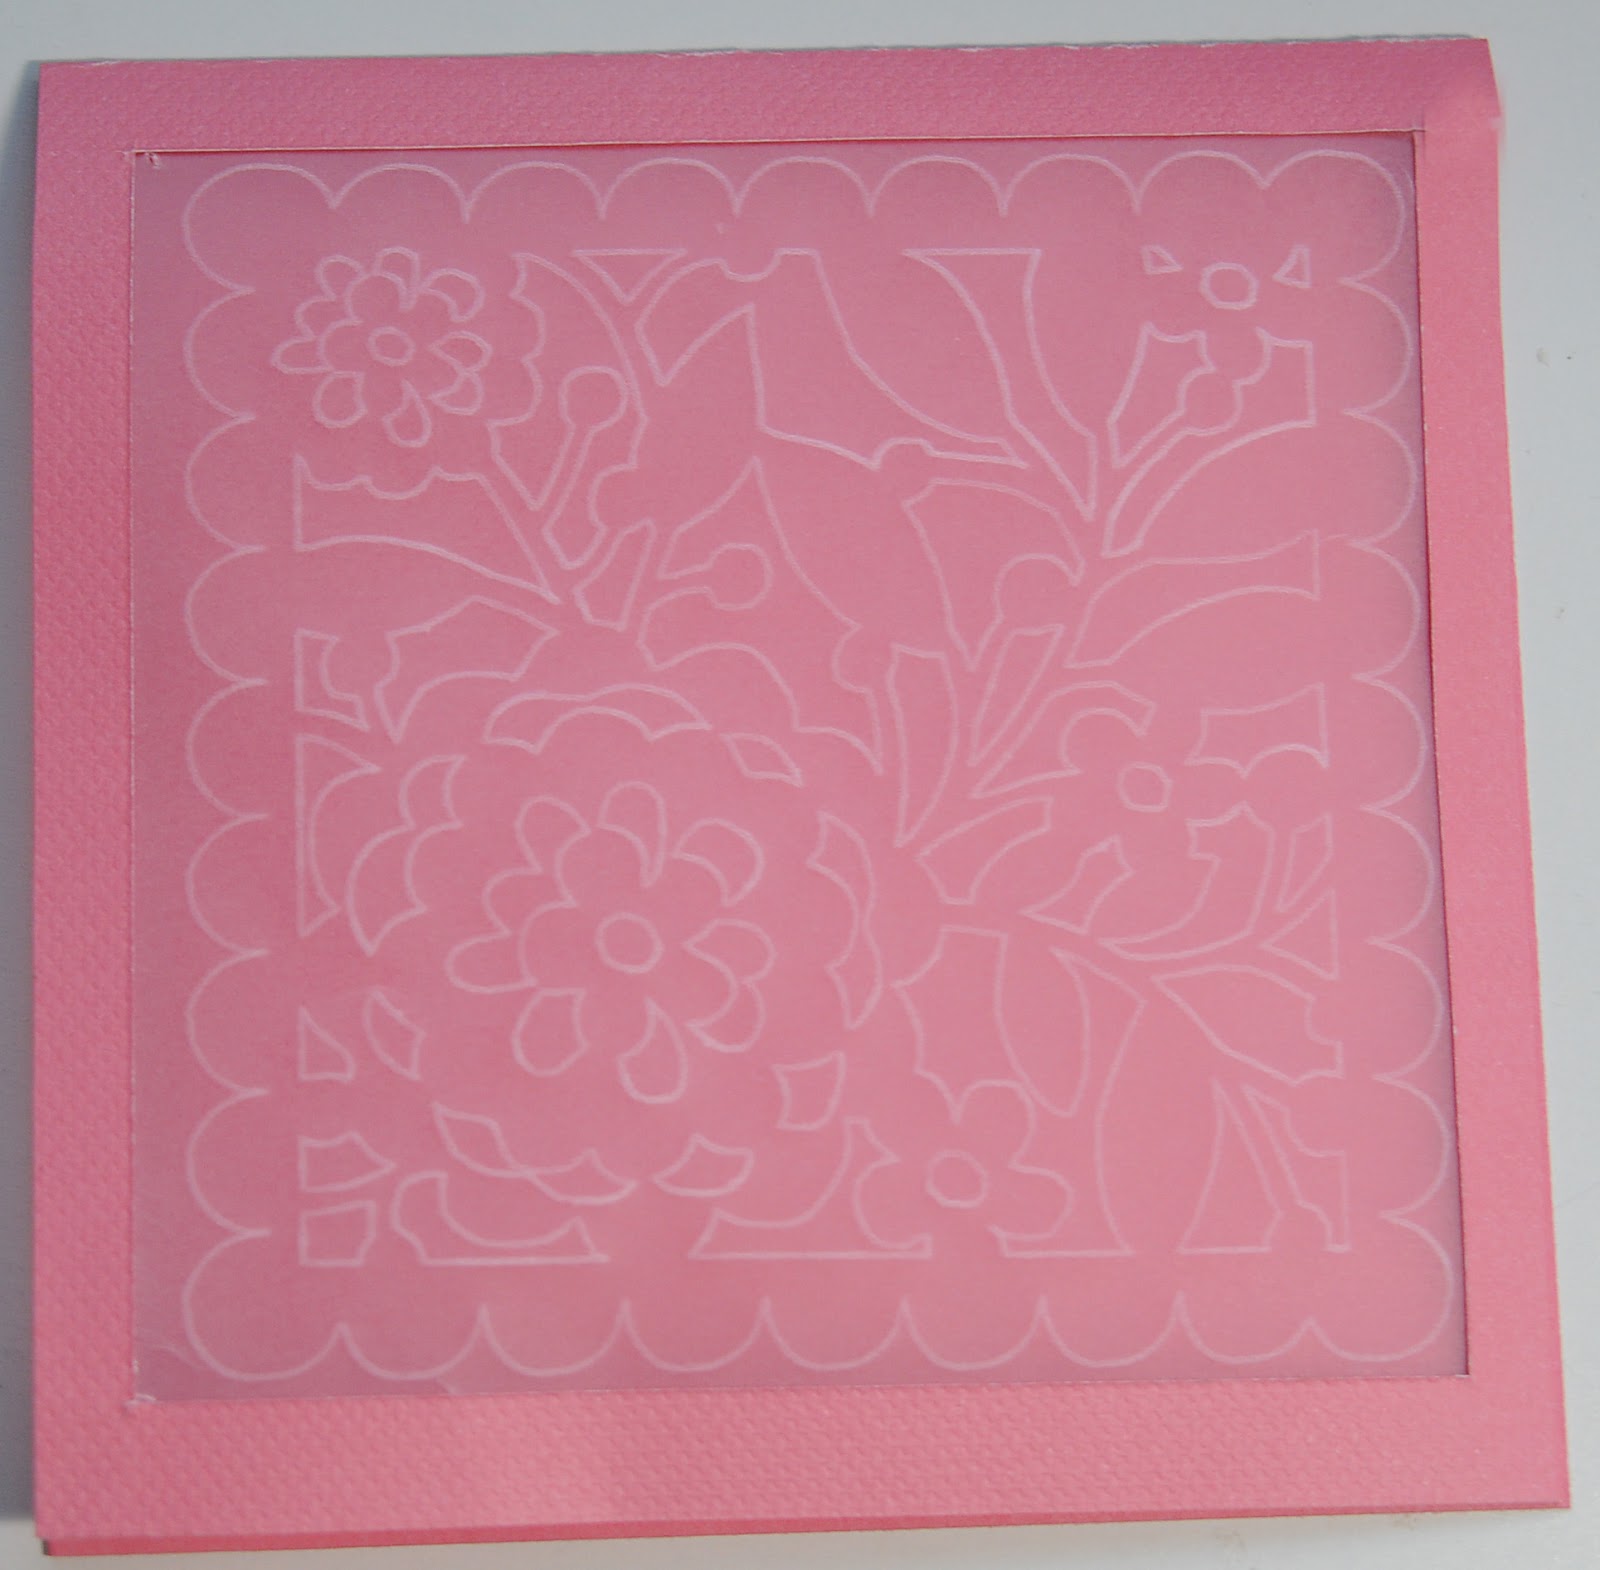
I used the Chomas Creations embossing kit to emboss the design onto a metal sheet.  I added the colored side of the metal sheet to the embossing mat, embossed the design, then sanded the raised image.

Here are some more pages in the album!  Wheeewh so glad that is done!


And here is the entire book put together! 


Like what you see? Leave a comment to let me know!

Tuesday, July 23, 2013

Embossed card with Cricut Expression 2

Here is a quick card I did today with the Chomas Creations embossing kit for the Cricut and vellum!  The design I used is one from Cindy Loo. 
I attached the Chomas Creations embossing mat to my Cricut mat (you don't even need a new one, just clean an old mat, add some adhesive, I use Zig 2 way glue, and add your mat to that!)  Then I attached a piece of vellum with adhesive in each cover to the embossing mat.  I set my pressure to 5, or max, the speed to 3 or medium and embossed the design.  I did use a multi cut of 2.
 I added the Chomas Creations embossing tip into the Expression 2 (it fits in the entire line of Cricut machines though!) and tightened the screw.  No other parts needed, the embossing tip fits right into the machine.

I did cut out a window in my card for the vellum to sit in.  I just used my paper trimmer for this as I said I was going for quick! 

 
Want the same look using the Cameo?   Use a stylus in the Chomas Creations adjustable pen holder and use an embossing mat.

***Don't forget to use the coupon code july13 in the Chomas Creations store to save 10% off your purchase at checkout!
Like what you see? Leave a comment to let me know!

Saturday, May 05, 2012

Bonus charm frame with Chomas Creations embossing/scoring kit

Don't forget it is National Scrapbook Day (or weekend!) so you can use the coupon code nsd15 in the Chomas Creations store to save 15% off your purchase of $35 or more!

I had a request to make this frame as a mother's day present.  I used the Chomas Creations adjustable pen holder for the Cricut with a Sakura Glitter gel pen.  I drew the words with the Expression2,and without removing my mat, I replaced the blade to cut shadow around them.  Because I love all the glitter, I then colored in the letters with the glitter pen.  These pens color really well!
I then used the Chomas Creations embossing/scoring kit to make the shamrocks.  By adding the metal sheet colored side down, I embossed, then sanded the raised image. 


Like what you see? Leave a comment to let me know!

Saturday, March 03, 2012

Transformers birthday card with Chomas Creations embossing/scoring kit

So a couple of hours ago I found out my son was invited to a birthday party, he was given an invite to give to me, which I didn't get.  So the party is TODAY!  And I needed a quick card!
Can you even believe I made this card in less then 15 minutes??  Maybe even 10...  Sssssh don't tell!
I used the Chomas Creations embossing/scoring kit in the Cricut to score the side of the card for easier folding, and to emboss the Transformers design on a metal sheet.  I had made this file in Make-the-Cut awhile ago for another birthday card, so this one was super easy!
Now I have to run and get a quick shower as I'm off to roller skating!  Wish me luck!  I'm sure it will be amusing!!


Like what you see? Leave a comment to let me know!

Saturday, February 18, 2012

Scoring with the Chomas Creations embossing/scoring tip

Well now, for those of you that know me, you know how I like things that make my life easier, and for those getting to know me, now you know! hehe! So if I can cut and fold a card in just minutes, and have a bunch ready to go and grab when I need them, I'm all for it! You will be amazed at how easy this is to do! You can download the file for Design Studio to make these 2 cards here... 4x6 card share
I also have a video you can watch on scoring with the Chomas Creations embossing/scoring tip.
Now to recap, this is using just the Cricut mat and a piece of cardstock, and the Chomas Creations embossing/scoring tip to score the card.
I added a big rectangle in Design Studio on the emboss layer, with some of the edges off of the paper (you don't need this part of the rectangle) to emboss with the Chomas Creations embossing/scoring tip.
Using a multi-cut of 2, emboss or score the paper with the Cricut.
Without removing the mat from the machine, remove the Chomas Creations embossing/scoring tip and add the blade. Swith over to the blade. Click the cut layer tab in Design Studio and cut out the card rectangles.
Now you can remove the mat from the machine, and take your cards off your mat, fold them in half and use a bone folder to smooth the edge. SUPER EASY! I did all 6 of these cards in less them 10 minutes!


Like what you see? Leave a comment to let me know!

Thursday, February 16, 2012

Welcome little one with Chomas Creations embossing kit

Lucky me, just over 2 weeks ago I got a new nephew!  This is Drew!  Of course I can't resist a cute boy layout, or cute baby Drew!  I actually used this welcome little one file before to make a page for my boy, and I was looking through old files and wanted to use it again!  You can get the file and see the other page here... welcome little one
I used the Chomas Creations embossing/scoring kit to emboss the little circles on the vellum as my background.  I did use a multi-cut of 2 to get them to really stand out. 

I used the Chomas Creations mini gel pen holder with a glitter silver mini gel pen to draw the title, then without removing my mat from the Cricut machine, I took out the mini gel pen holder, replaced the blade, and cut the shadow around the shapes.

I also used the Chomas Creations  mini gel pen holder to draw the journaling circles.  You can get a tutorial and the download for the design here... journaling circles

I added my super cute pictures of Drew, some ribbon and buttons to the page to finish it.

And did I mention that you can get the Chomas Creations mini gel pen holder and embossing kit at lower prices in the Chomas Creations store
And that I now have a way to sign up to email alerts to you when ever I post something new on this blog?  It is on the right----->
Like what you see? Leave a comment to let me know!

Wednesday, February 15, 2012

Detroit Tigers with Chomas Creations embossing kit

One of my favorite things to do in the summer is to head to a Detroit Tiger's baseball game!  This year was tons of fun as it was an earlier game and we got to celebrate after in Detroit, and even headed to dinner downtown. 

I used SCAL (Sure Cuts A Lot) for this layout.  You can download images from the internet and then trace them in SCAL.   As you can see from the image, I added a dashed border around the outside, a feature I just love in SCAL.  I then used the Chomas Creations embossing kit and the Ten Seconds Studios metal sheets (colored side down) to emboss the images.  After they were done, I sanded the raised side to make the images pop, reminds me of the old fashioned signs!


For the background paper for this page, I downloaded a fence image, then used the Chomas Creations mini gel pen holder with the black metallic mini gel pen on kraft cardstock.  You can download the fence image here... fence image
I did the journaling on one of my journaling circles I have tons of, then added to the metal sheet and just cut around it...
You know how sometimes someone hops into your pictures, and you really just don't want them there?  Well that explains the clever placing of buttons on my photo! 


A heads up that by clicking the shop button at the top of my blog, you will be brought to my online store.  While it doesn't look pretty yet, it does work, and I can now take credit cards, as well as paypal.  Prettiness to come later, as soon as I get this zen cart thing figured out, UGH!


Like what you see? Leave a comment to let me know!

Tuesday, February 07, 2012

Little Animal with Chomas Creations embossing kit

Now this is one of my fav things to do!  It does take awhile, so you have to be patient, but the results are soooo cool!  It is embossing these intricate designs with the Cricut!  I traced this Animal image in Make-the-Cut and then used the Chomas Creations embossing kit in my Cricut to emboss the image on a metal sheet.  Then I sanded the raised image.  How cool is that???


The title was welded together in MTC using the font LD Blankie.


The journaling circles were made with the Chomas Creations mini gel pen holder in the Cricut.  You can see a video on how to make them and download the file here... journaling circles


Here is the completed page, along with my favorite little Animal! 


Like what you see? Leave a comment to let me know!

Sunday, February 05, 2012

You crack me up with Chomas Creations adjustable marker holder

One thing is for sure about my youngest, Jack, he is a crack up!  But that leads to one problem, if you want a serious picture of him, it is near impossible to get!  So I work with what I have.
Don't forget to use the coupon code feb10 to save10% off your entire purchase in the Chomas Creations store!  And look at this!  I've added some Cricut deals to my store with the new Chomas Creations adjustable holders, you can see them here, just scroll down... deals on the adjustable holders
Well this is my first file share for Cricut Craft Room (CCR), so I sure hope it works!  You can download the file using George & Birthday Bash here... crack me up
The graph background was done using the Chomas Creations adjustable marker holder for the Cricut with a metallic silver Sharpie marker in CCR using George.  I just love graph looking paper on my layouts and cards!


The red squares were embossed on metal sheets using the Chomas Creations embossing kit for the Cricut using CCR & George.  By adding my metal sheet colored side down, I was able to emboss on the metal sheet, then sand off the raised image for this look.


The title was done using CCR & Birthday Bash.


Here is the finished layout along with my crack up!  Now notice the black border around the whole page.  Before I add it to the page, I cut the inside of the sheet of paper out (my frugal tip for the day!) and then I can use that paper to cut the title or anything else I may need, and it matches perfect!  I do this behind large areas that will be covered up.


Like what you see? Leave a comment to let me know!

Tuesday, January 24, 2012

It's a boy card using Chomas Creations embossing kit

It's a boy card (hopefully, every once in awhile they are wrong!) for my new nephew that will be coming on Thursday!  I'm very excited for his arrival! 
If you would like to make this card with Design Studio, Doodlecharms and Boys Will be Boys cartridges, you can download the file here... it's a baby card  And if you need it for a girl, that is included in the file as well!
I used the Chomas Creations embossing kit to make the bottle border on the bottom of this card.  By adding the metal sheet colored side down, then embossing, you can sand the raised image to get this look.

I also used the Chomas Creations embossing tip (this time without the mat) to score the fold in my card.  I have a tutorial on that here... score card tutorial


Like what you see? Leave a comment to let me know!