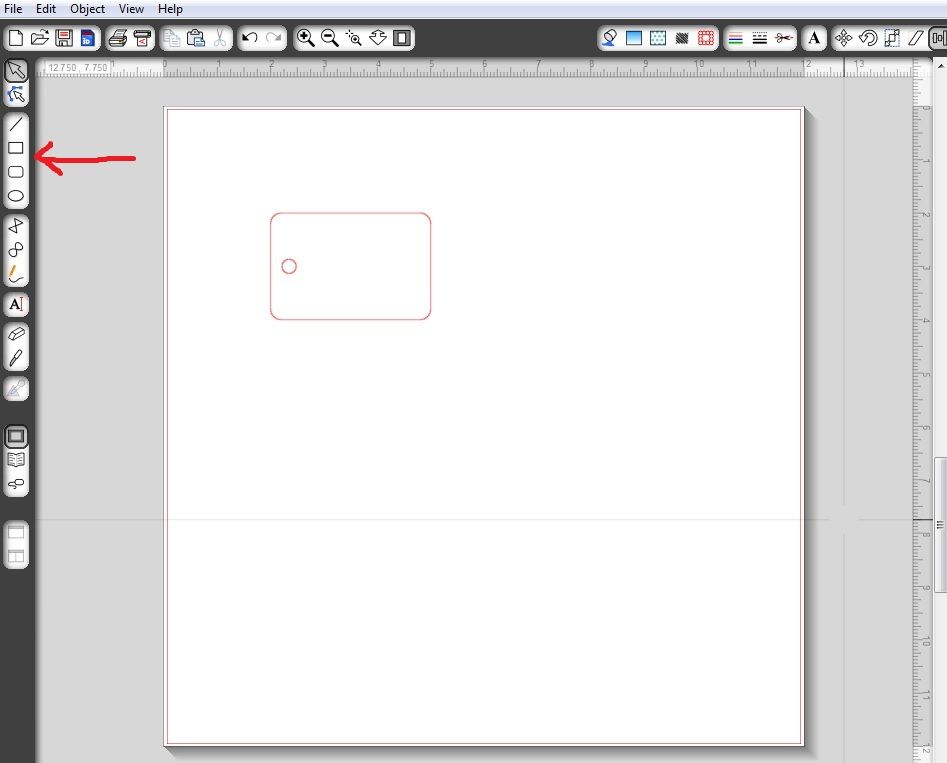
First create your rectangle, circle, square or another easy shape to recreate in Studio. In a few days I will have a tutorial for what to do when you really want to engrave on an object that is an odd shape.
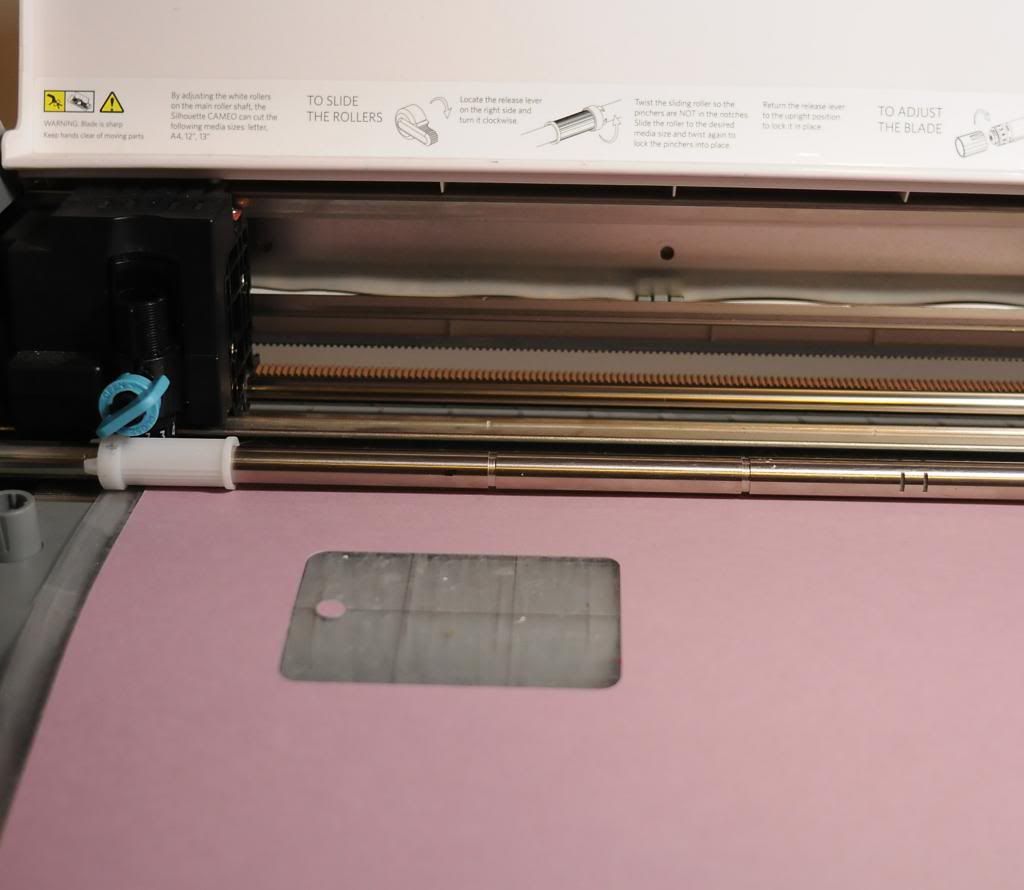
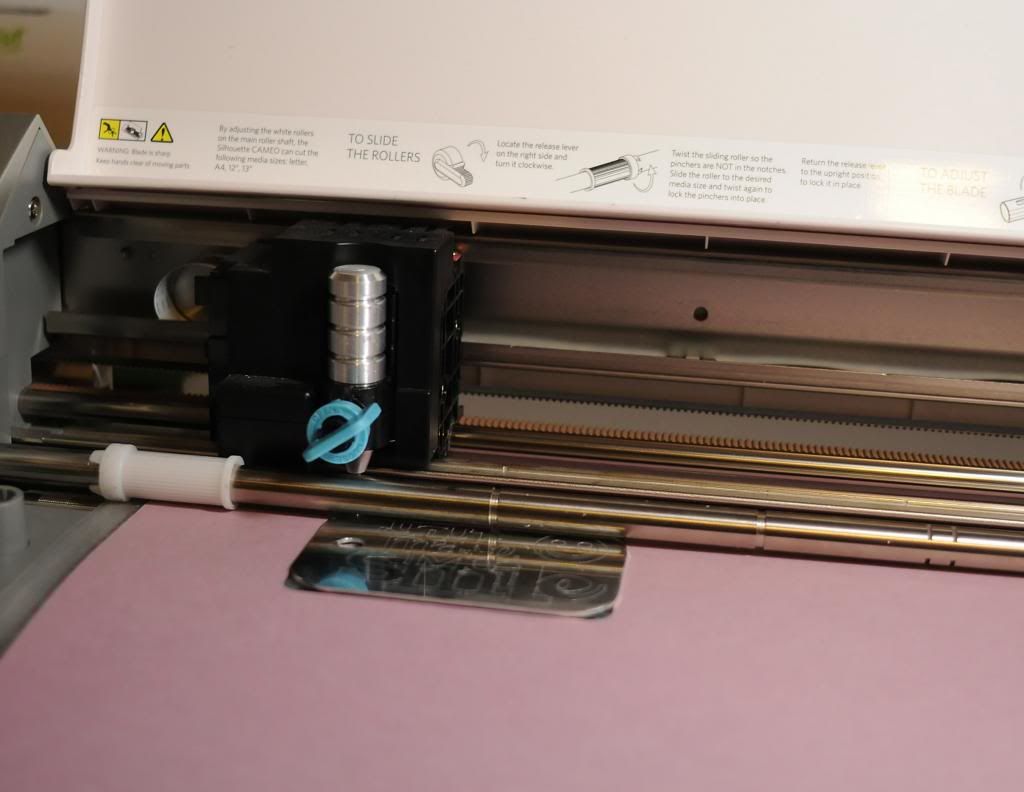
The tag I am using is 2x3 inches. Put that on your virtual mat. **Notice how I am not putting the tag too close to where the rollers are going to be, I have it moved over 2 inches. You may even need to center your tag to get the best engraving possible. This just worked for me. If it ends up close to or under the rollers, it will not work.
I use glue dots on the back of my tag to hold it in place on my mat. **You can try a test cut or draw the rectangle shape before you add your tag to the mat if you are nervous (this is optional, you can just add the tag to your mat lined up with your virtual mat, but this may save some frustration in the end, and it is pretty quick!)
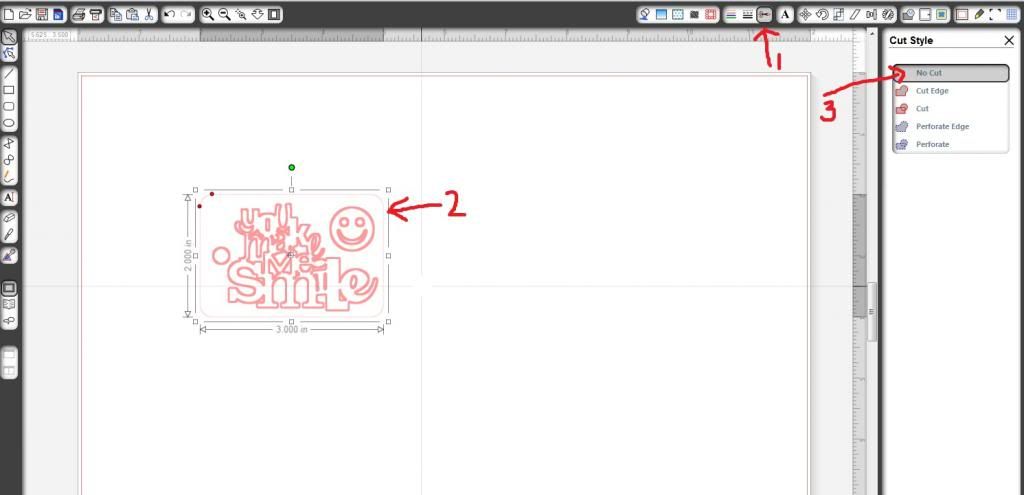
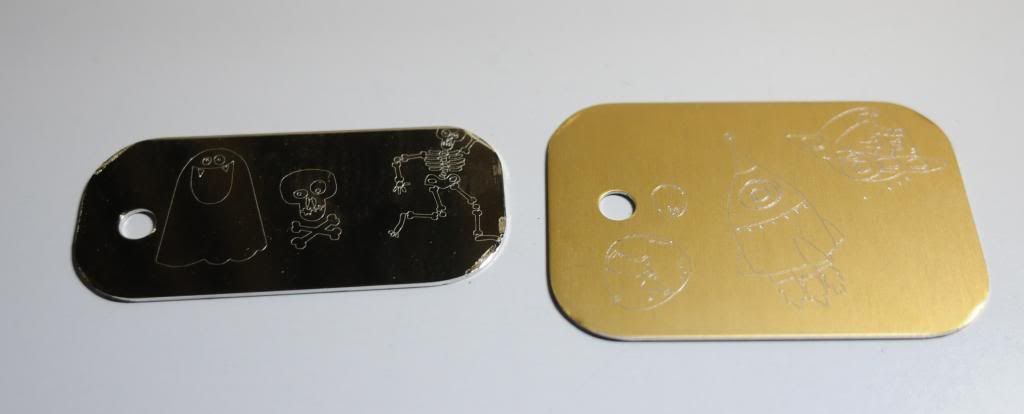
Now I want to turn off the cut lines for when I am engraving. To do this first click on the image of the scissors (1), then click on your image, in this case the tag & small circle (2), and then click on no cut (3). You can see the design I am going to be engraving on this image.
You can add any text or designs you would like to the Silhouette Studio file.
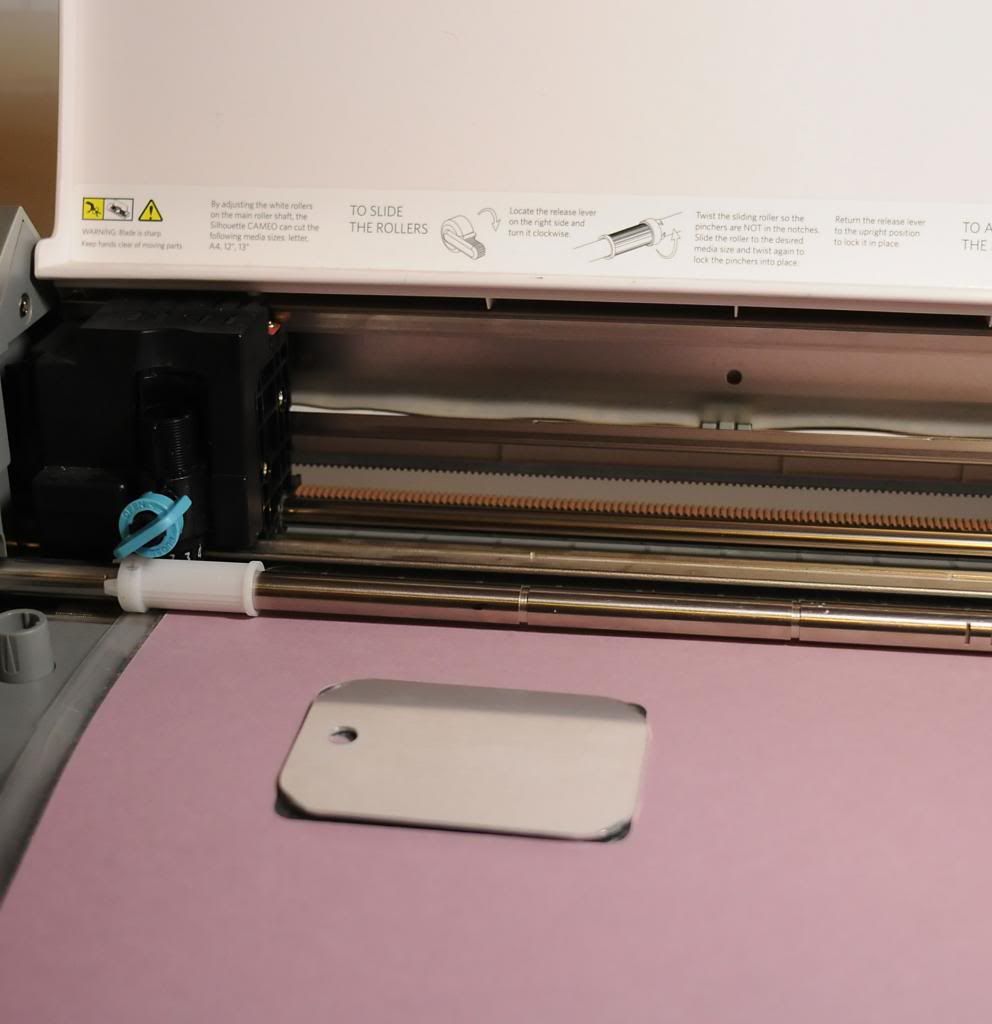
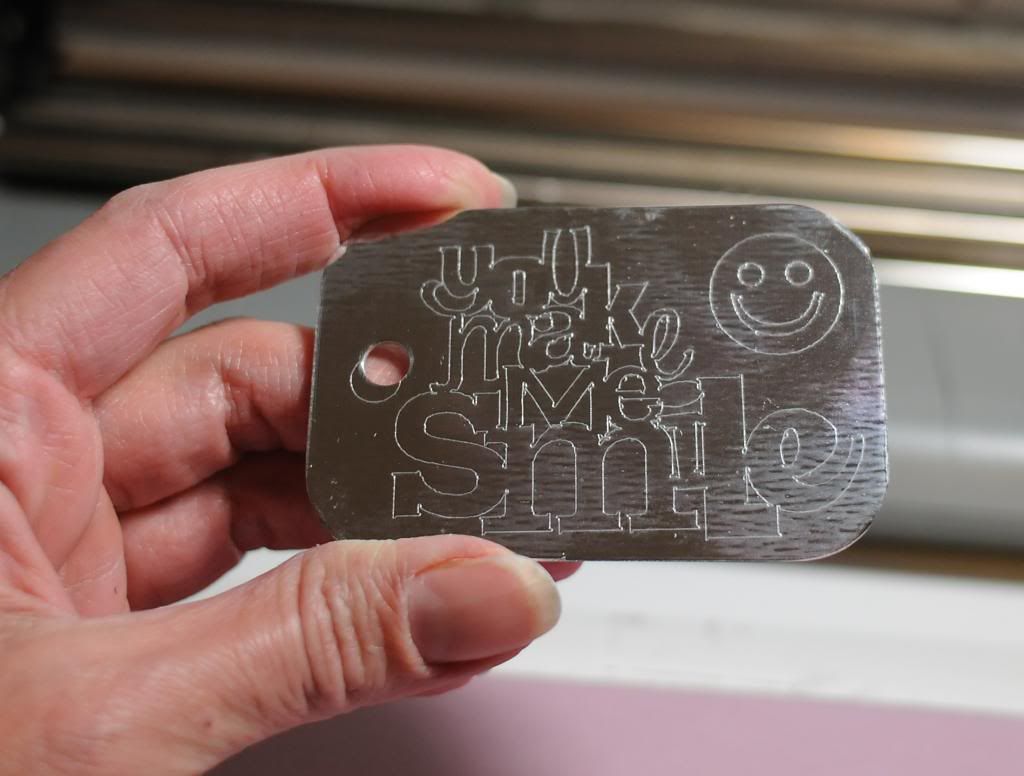
Now add the Chomas Creations engraving tip to the Cameo. I used a thickness of 33, a speed of 4, and checked double cut and let the machine do its work!
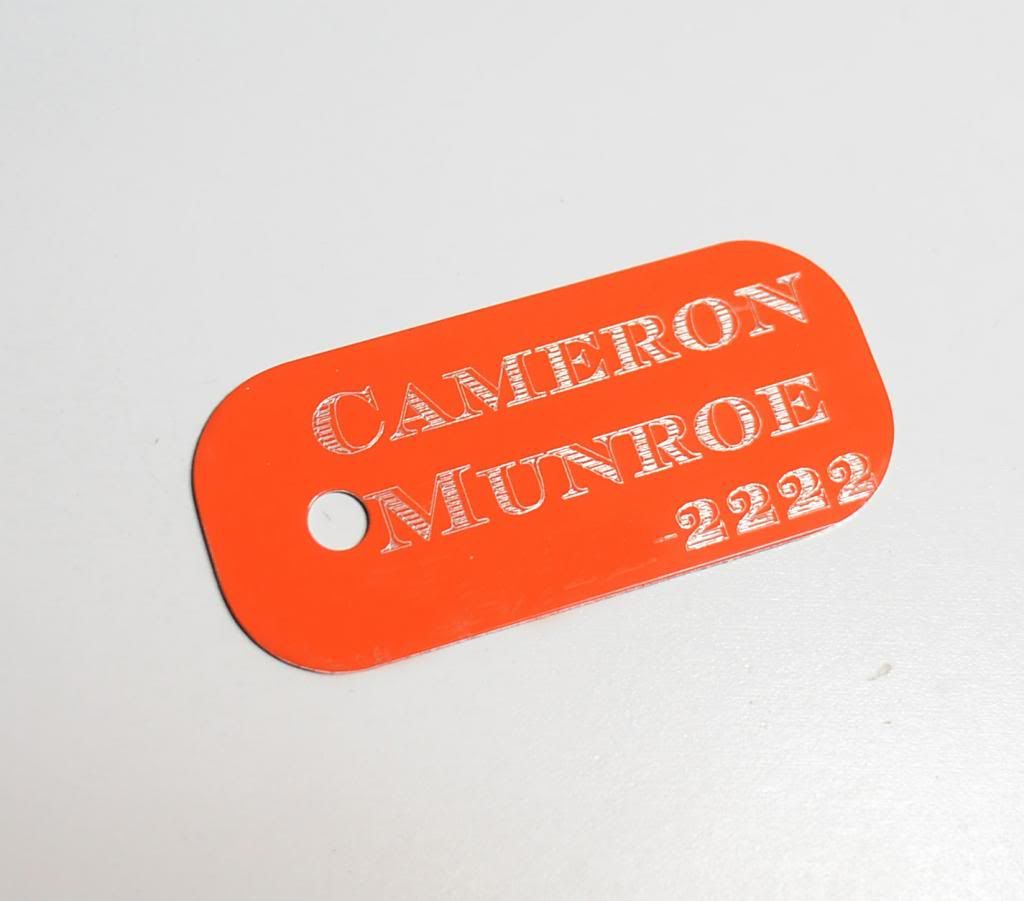
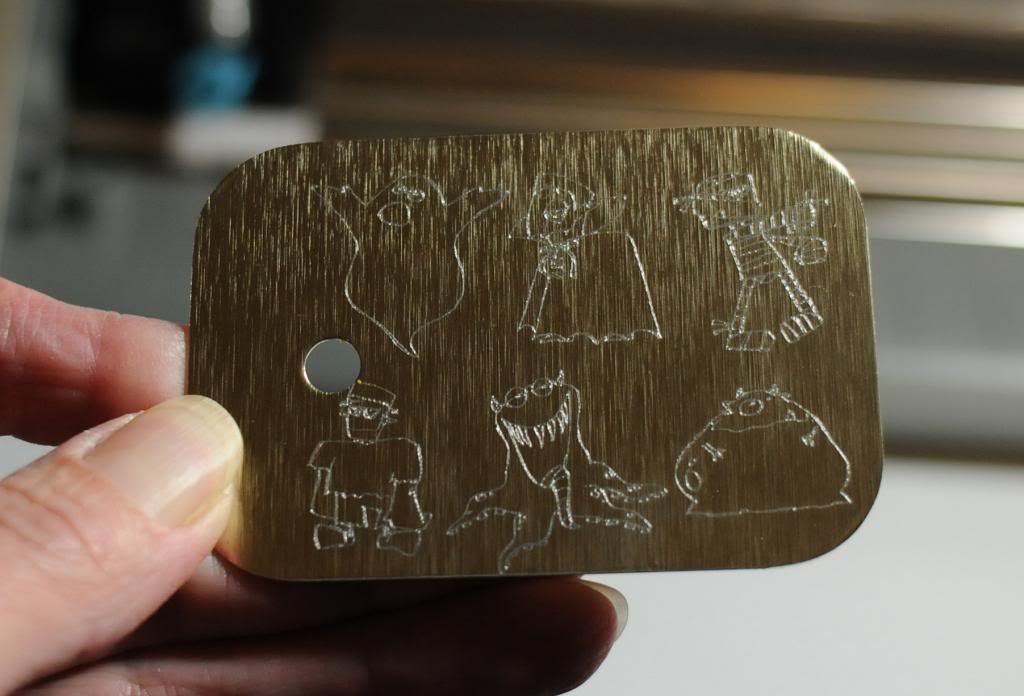
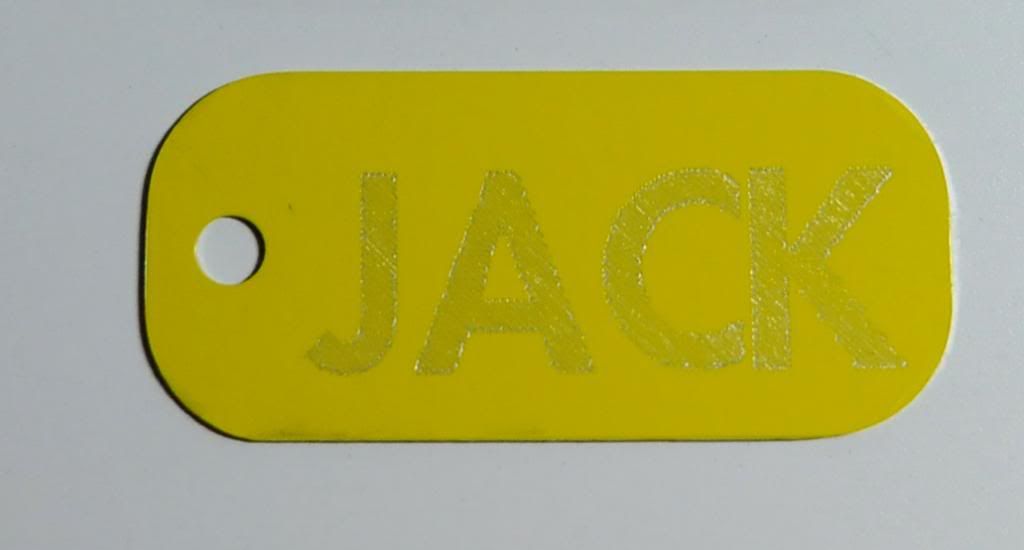
Now when my youngest son saw this tag, he had to have his own. Here is Jack's tag. This font is 101!Block letterz. You can find a bunch of amazing fill fonts on Kay's blog Creative Someday here...
Fonts 1
Fonts 2

Like what you see? Leave a comment to let me know!

11 comments:
Great to know that the Cameo can do this too using the engraving tip. Thanks for the tutorial too, Amy.
Tine (Addie24)
I know this isn't your concern, per se, but I thought I'd let you know that the Sample Pack doesn't appear to include free shipping. My cart is saying $12.98 additional for shipping something that will weigh less than 2 lbs. I have a note into the folks at Ohax Industries.
Should we also select cutting mat?
And should it be on Blade or Sketch Pen?
I do use a cutting mat.
I change the settings so it doesn't matter if it is set to blade or pen. Use a thickness of 33 and the speed slowed to around 3.
How can we use imported design of letters with just the single line instead of the outline of the letters?
Search my blog for thin fonts, journaling fonts or engraving fonts. Lots of ideas :)
I would like to know how do you get the word to show up? Like when they do stamped words they put black Sharpie on the blank and wipe off the black. The black is left inside the words so you can see the words.
Thank You
Lee
I would like to know how do you get the word to show up? Like when they do stamped words they put black Sharpie on the blank and wipe off the black. The black is left inside the words so you can see the words.
Thank You
Lee
Hello, would this etching tool work on Sterling silver or gold-fill? I'm a jewelry maker and being able to engrave on my own would beahugegame changer. Thanks in advance for getting back to me!
OMG. i stumbled across this totally by acident. I spent 2 hours last night trying to line up a round object, never gotnit wuite right. so simple. thank you
Love you blog. Do you know of a good way to smooth out the etching? It feels rough when I'm done. I've been testing it on my Cricut Maker and use the lightest setting.
Post a Comment