This is Amy from Chomas Creations! Let me give you a back story before I get into the warranty questions some of you may have.
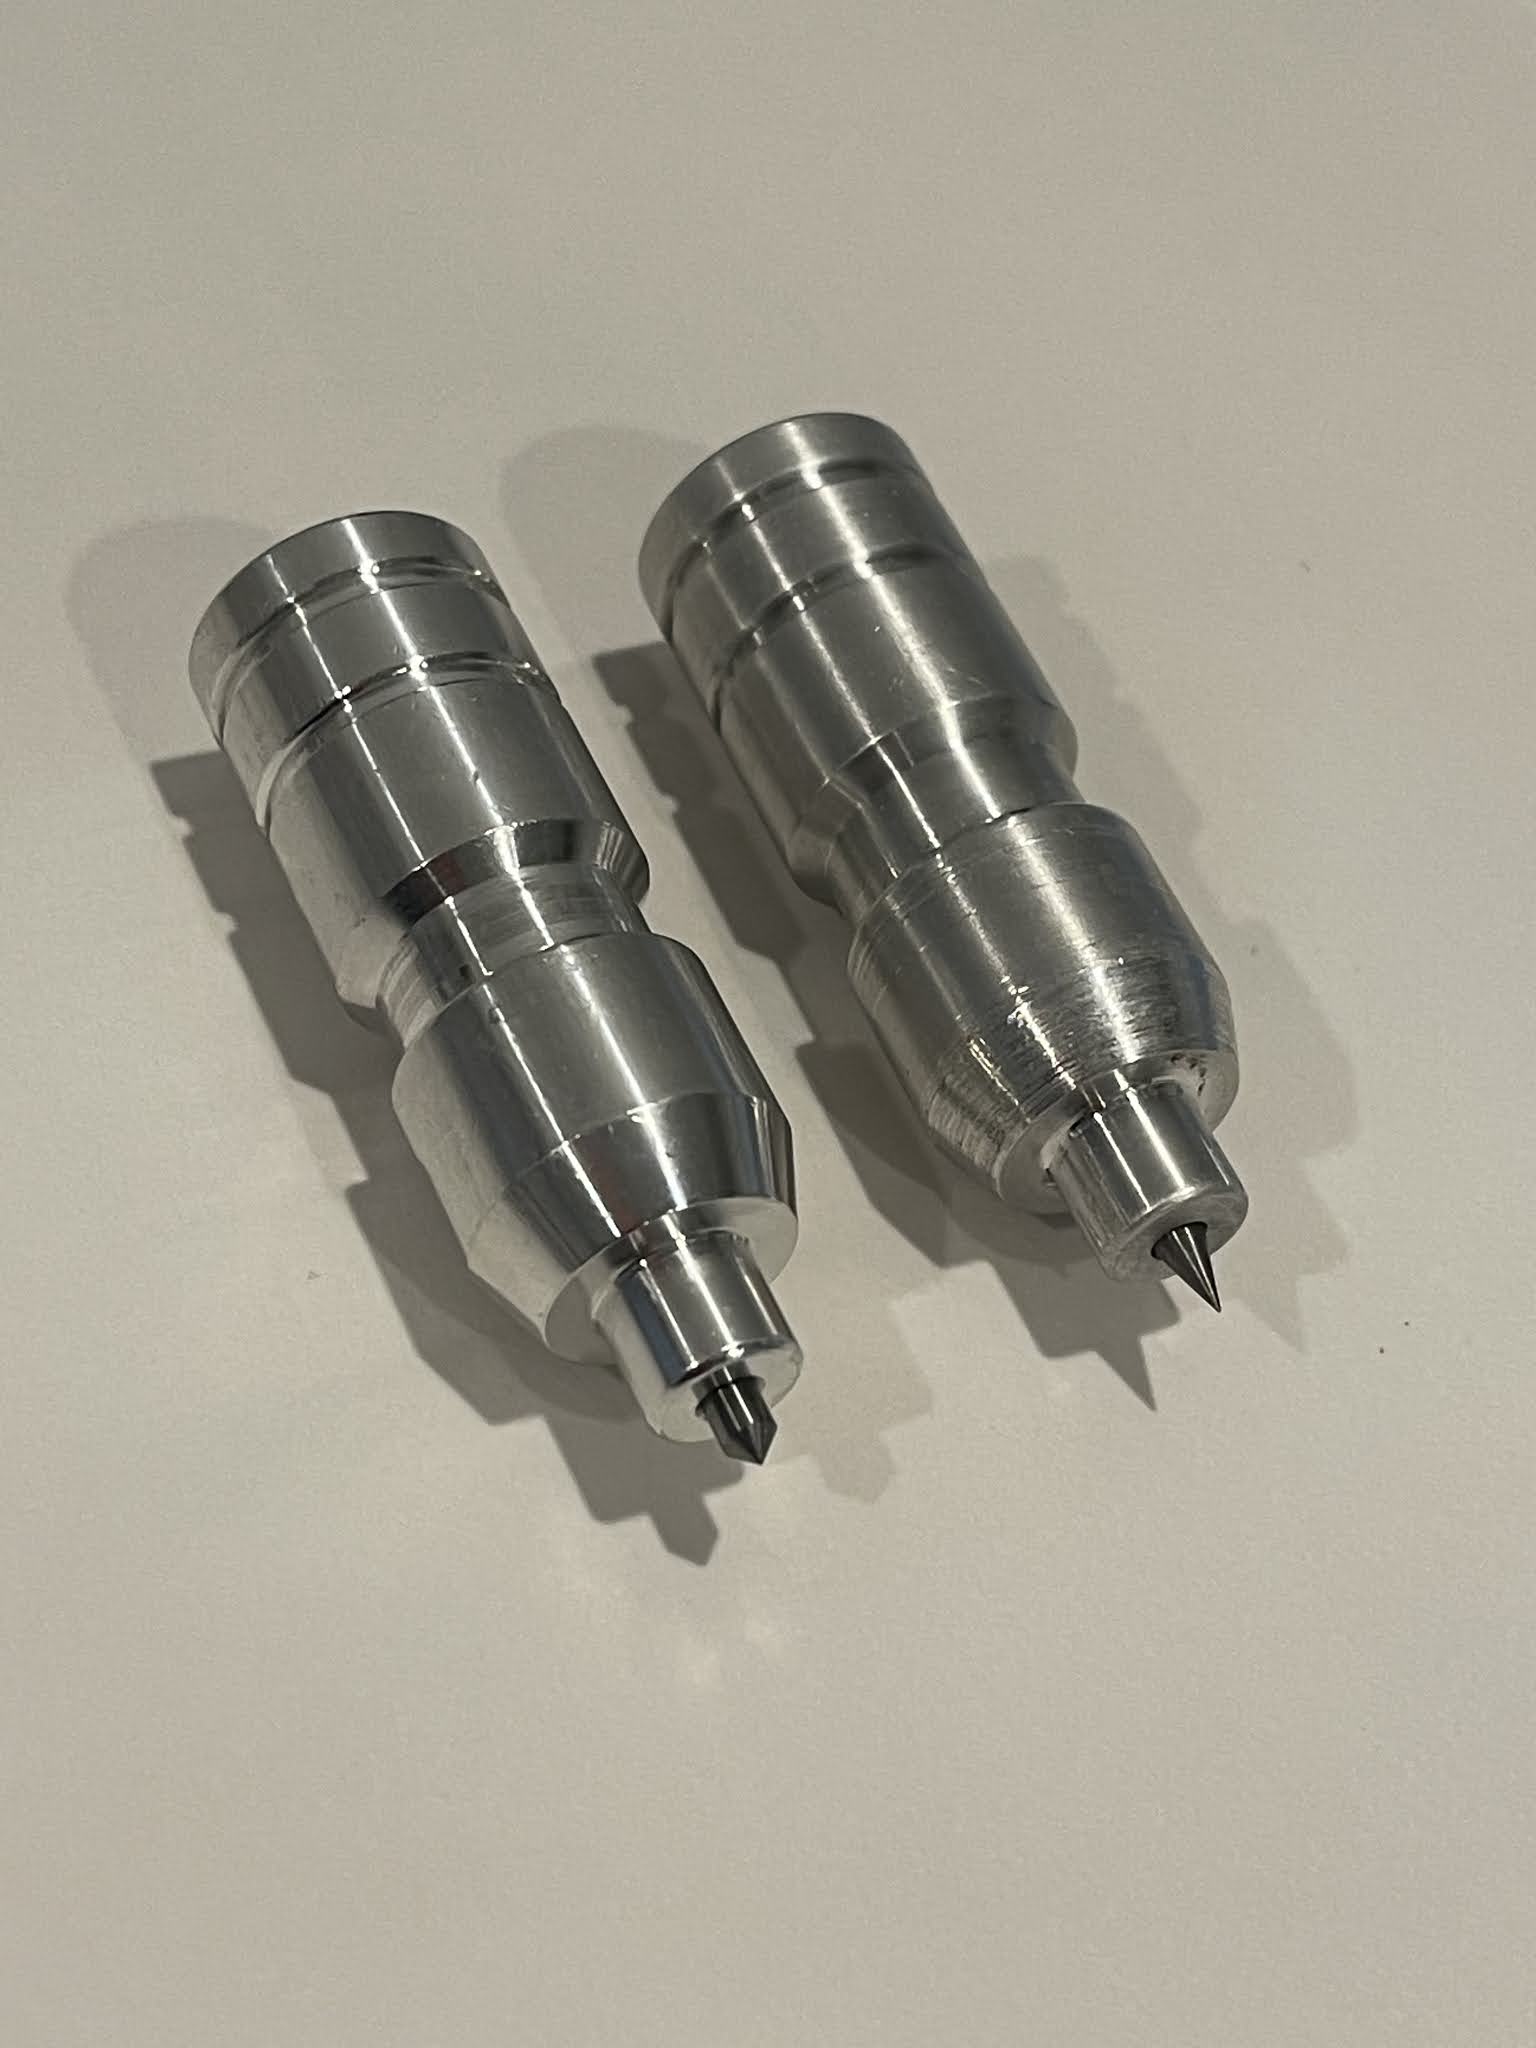
I got my first Cricut just a month after they came out almost 15 years ago. At that time I got to cut paper with it and wanted to find more to do with it. My first step was a mini gel pen holder. Keep in mind I helped design this mini gel pen holder with the machines safety in mind. I was addicted to my Cricut machine and would never do anything to harm it. I worked with an engineer/machinist to come up with a safe way to do this. I tested every product I have put out extensively before offering them to all of you.
This all started almost 12 years ago. I have yet to have anyone in those 12 years come to me and tell me that a Chomas Creations tool has harmed their machine. These tools in no way modify the machine or any of the hardware or software it uses.
I pride myself in making my tools out of quality materials right here in the USA. I use small town machine shops and have close contact to the owners. Quality control is very important to me!
This is the same law that says you can use an Epson printer with an Apple computer, or use generic ink in a printer.
Rest assured I stand behind my Chomas Creations tools and have for almost 12 years now. I have many happy customers that come back for more tools when they get a new machine they love them so much! Word of mouth is the best form of advertising and I appreciate each and every one of you that share your love for Chomas Creations tools and share your projects.
Like what you see? Leave a comment to let me know! Thanks Amy Chomas