Easier shopping is here!

For those that wanted easier shopping, click on the shopping tab above or visit http://www.amychomas.com/

We are now taking credit card payments, or you can still use paypal! Any questions, you can send them to amyc222@yahoo.com

Want to learn how to use your new holders? Look to the right of my blog to see everything in categories!


Friday, April 08, 2011

Have you tried out Cricut Search?

I just have to share this!  I was in the Disney/Pixar blog hop and one of the blogs on the hop is Cricut Search and to be honest, I hadn't tried it yet.  But today I wanted a bike for this page I am doing, and I had no clue which cartridge had one, so I gave it a shot!
First I typed bike into the search box...

Then a list of all the cartridges for the Cricut that have a bike on them show up, and you can pick the cartridge you have, with the design you like!
Look at that!  Not only do you know which cartridge, but it shows the page as well!  How easy is that?


I thought it would be cool to emboss the bike design for this page.  So I got out the Ten Seconds Studios appletini metal sheets and put one face down on my Chomas Creations embossing mat, then embossed the design with the embossing tip.  The metal is easy to cut around, so I did that with my scissors then adhered them to my page.


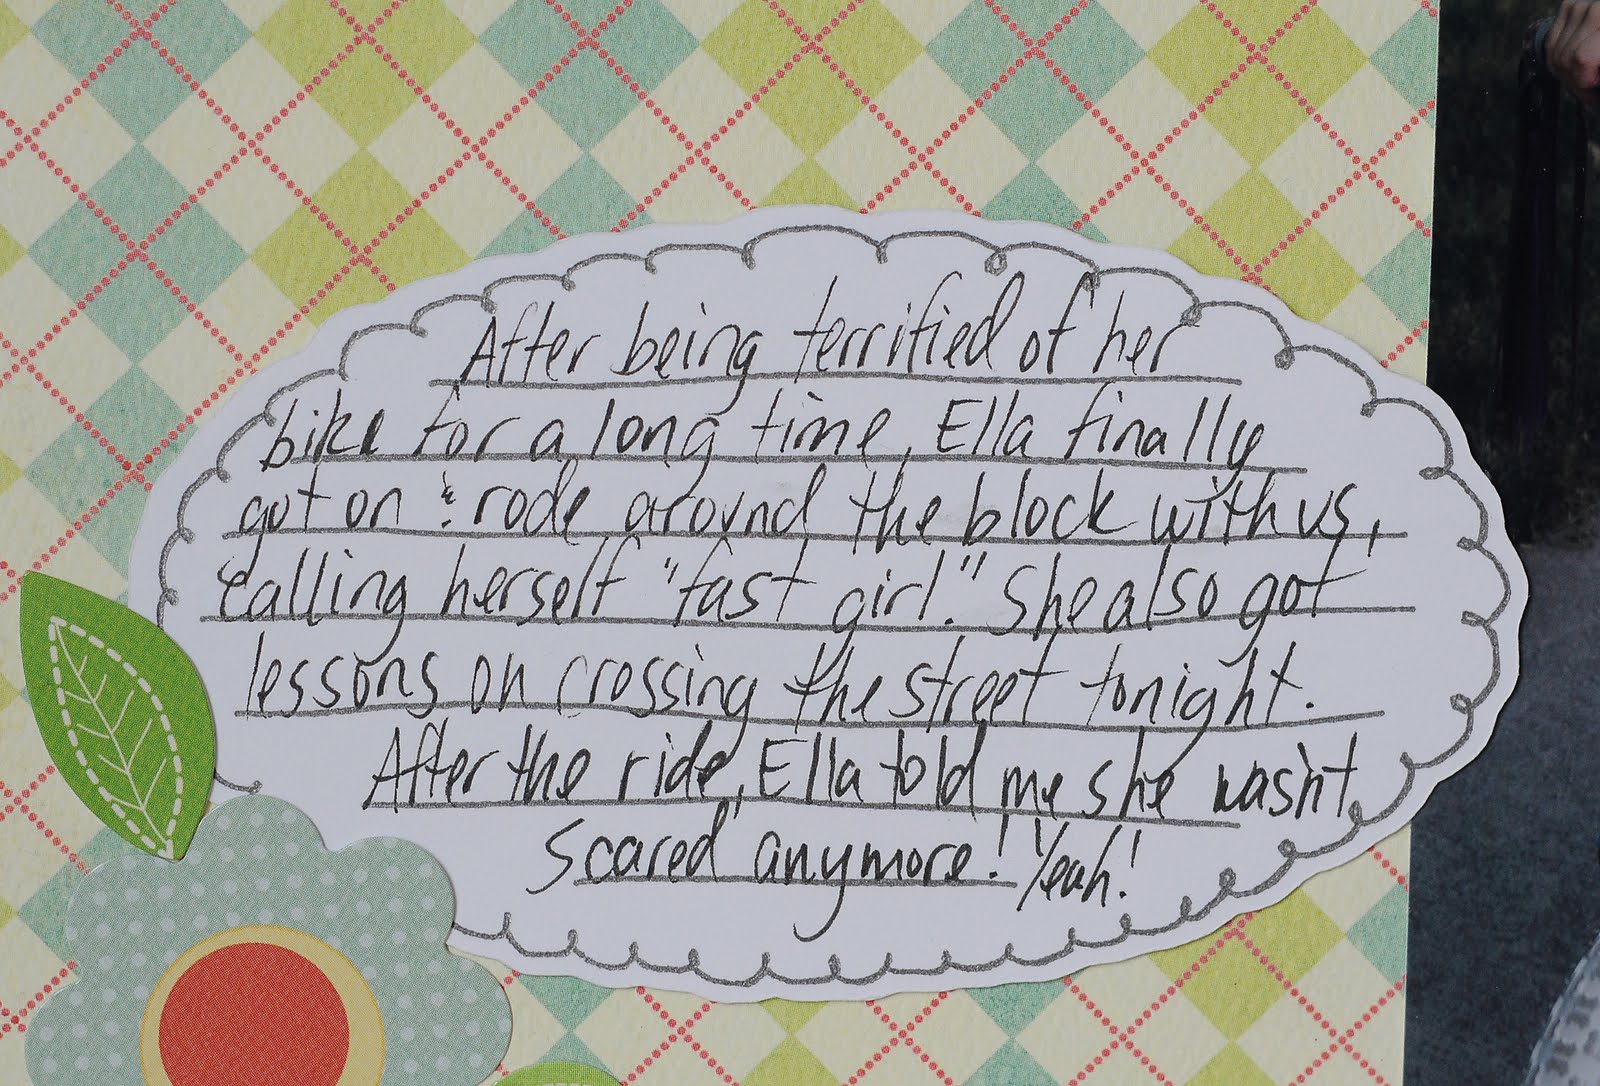
My journaling oval was one I did in Make-the-Cut. I had promised to share it awhile ago and completely forgot, so for those waiting for it, here it is!

The title was cut with the Boys Will Be Boys cartridge which I welded together with Design Studio.


Here is the completed page along with my fast girl! 


Also did you see the announcement about the Chomas Creations mini gel pen and mini Sharpie holders coming down in price?  If not, scroll down to find out more!
Like what you see? Leave a comment to let me know!

Thursday, April 07, 2011

Easter morning with the Silhouette mini gel pen holder

Don't worry, I'm still alive!  I know my blog has been neglected, but that seems to happen when you have 4 kids on spring break, and the week before they end up with 2 snow days!  They were home for 12 days straight, eeeeek!  Then I had some company for 3 days as well!
So I'm back in the swing of things, and being Easter is right around the corner, and I the snow has melted (finallly) I'm ready for springy things! 
I had this file from the Silhouette store that was this bunny with carrots, it took awhile but I did piece it together so that I could draw the bunny with the Chomas Creations Silhouette mini gel pen holder and black metallic mini gel pen, and then color with the Copic markers (fun fun!)   So with a little work in the Silhouette Studio software, you can take any file you download and piece them together to use for sketches!  Oh and can't forget the googly eyes on my animals hehe!

The journaling circle was designed by me and you can download that file here... journaling circle and use it with the Chomas Creations mini gel pen holder for the Silhouette!

The title for this page was another download from the Silhouette store as well.  The papers and brads are Making Memories.  The kids are mine hehe!  I was sick this Easter, thus the nonmatching pj's and the lack of a sock on my daughter! 


Like what you see? Leave a comment to let me know!

Thursday, March 31, 2011

Little Monster card with Chomas Creations mini gel pen holder

One of my little friends is turning 2 and I thought this would be a fun birthday card for him!  You can download the file for it here... little monster card
The Mini Monster cartridge has monster shaped cards!  I used Design Studio and Sans Serif with the Chomas Creations mini gel pen holder and dark blue glitter gel pen to write the "happy birthday little monster" on the card, then colored that, and the horns and teeth on the monster with the Copics.  Of course no monster is complete without 2 different sized googly eyes!


Like what you see? Leave a comment to let me know!

Sunday, March 27, 2011

Winner chosen for Disney Pixar blog hop!

WOW!  What a hop!  227 comments (before I closed the drawing) were left, my largest number yet, and I read EVERY single one of them!  Thanks so much for the nice comments!  And welcome new followers!  Hope you drop by again really soon!  And I'm glad everyone was thinking of what would be fun to do with the Chomas Creations mini gel pens! 
I used random number generator to choose a winner for the Disney Pixar blog hop, and the winner is...
Lori Apgar said...


What a much easier way to make Disney Characters!!! I love your background designs too!!!
Glad to be in the hop with you!

Lori you have till Sunday April 3rd to contact me!  Otherwise I'll choose another winner.
Hope everyone enjoyed the hop!


Like what you see? Leave a comment to let me know!

Saturday, March 26, 2011

Disney Pixar Blog Hop Day!!

I was so excited to be invited in the Disney Pixar Blog Hop and I want to thank Shawn and Melissa  for putting it together and inviting me!!!  If you are stopping by from Cindy's blog Snoflaks you are in the right spot!   If you are just stopping by for the day, HOWDY!  I'm part of the Disney Pixar blog hop, and you are missing out on loads of great ideas, so head on over to Shawn's blog Crafty Chics Blog (and CricutSearch) to start the blog hop!

While it has been years since my last trip to Disney World (waaaah) and I already scrapbooked that whole trip, there are still some every day Disney things that are part of my life.  For instance, right now my youngest boy is in love with Toy Story, mostly Buzz Lightyear!  For Christmas he ended up with a Buzz and Woody that communicate with each other, the Toy Story play set and all the guys that went with it, and a Toy Story game for his DS.
So when I saw the Toy Story cartridge I knew I had to have it hehe! 
But then I saw all those tiny parts on that cartridge.  And it sat, and sat, and sat.  I have this thing about getting things done quick, or I don't want to do them!  So I thought why not draw out all those tiny parts instead of cutting them?  I used Design Studio to layer all of my parts, hiding the parts I didn't want drawn out.  There are 2 different files for this page, and they will both be at the bottom of this post.
This is what I got, the black is what gets drawn, the light blue is invisible. 

I added the Chomas Creations mini gel pen holder with the black metallic mini gel pen to the Cricut and drew the images out.  Then I had added a shadow layer to the Design Studio file to use to cut around my images.  Without removing the mat from the Cricut, I carefully removed the Chomas Creations mini gel pen holder and replaced the blade to cut the shadow image.

This is what the images look like drawn with the Chomas Creations mini gel pen holder!  Time to color hehe!

One of my favorite parts of the Chomas Creations mini gel pens is that I can use them with the Copics, and there is NO smearing!!!  And there is a little kid in me that loves to color hehe!


I also drew the title with the Chomas Creations mini gel pen holder and colored that with the Copics as well.

So can you guess the next thing I did with the Chomas Creations mini gel pen holder?  Perhaps background paper?  Well I didn't have any Toy Story background paper, so I decided to make my own with the images from the Toy Story cartridge!  Can you see all the details you get?  I chose 2 of the Buzz images, and 2 of the Woody images to draw.

Here is the page all put together!!!  Along with my lil guy Jack!  I added my journaling around the outside of the page as well.

If you would like the file to draw the background paper, you can get it here... Toy Story background

And if you would like the file to draw the Buzz, Woody, and title, you can get that file here...
**CLOSED**  And if you would like to win a Chomas Creations mini gel pen holder with a set of the Chomas Creations assorted mini gel pens, you have a chance right now!!!  You can become a follower if you would like but it isn't necessary.  Leave a comment after this post with what you would try drawing with your Chomas Creations mini gel pen holder, and be sure to leave a way for me to contact you as well.  Simple as that!  Only one comment per person please.  I will use a random number generator by Monday to pick a winner.


Here is a list of all the blogs in the hop in case you have gotten lost!

Melissa- Disney Dreamer Designs

Sarah-  Pink Cricut

Madison- Funky Cards

Ellen-  Cardmonkey-business

Tami- Tamis Craft Connection

Lori-  Scrappin My Stress Away

Lena-  Lenas Crafts

Marlo-  Scrap Note Blog

Cindy-  Snoflaks

Amy (you are here!)-  Amy Chomas


Like what you see? Leave a comment to let me know!

Friday, March 25, 2011

Make-the-Cut with the Silhouette and Chomas Creations mini gel pen holder

First, a bit of news!!!  Tomorrow, Saturday March 26th I will be part of the Disney Pixar Blog hop!!!  Hope you can hop on by and see what I have been up to, and oh yeah, maybe check out some blog candy!

Ok, so I do like my Silhouette, I really do!  And I also like all the SVG's from Lettering Delights, but I can't use SVG's in the Studio software for the Silhouette.  In comes Make-the-Cut, which can both use SVG's and cut to the Silhouette!  So I skip a lot of steps of converting files while using MTC with the Silhouette, and I like things that are quick and easy!  And of course there are a ton of MTC files out there that will be able to be used as well.  There is a link on the left of my blog where you can try MTC out before you buy, and a code for a discount on the program as well if you are interested.
It is pretty easy to get the Silhouette set up with MTC, there is a step by step tutorial here... Creative Designs Cakes tutorial  There is talk about making MTC even easier with the Silhouette in the near future.
This is a Lettering Delights download I bought, and I wanted to make a card with it.  I opened the SVG in MTC (1).  I also added a shadow layer to make my cut around it.
To start, I kept the layer on I wanted to draw (2), and turned the shadow layer off (3).

I then added my Chomas Creations Silhouette mini gel pen holder to the machine and sent the file to the Silhouette to draw. 
Then I turned off the draw layer (4) and turned back on the shadow layer (5).  Without removing the mat from the Silhouette, I removed the Chomas Creations mini gel pen holder from the Silhouette and added the blade back in and cut the card.

This is what it looks like straight from the Silhouette.

I used Copic markers to color in the letters and then added the finished image to my card! See all you Silhouette users, the Copic markers can be used with the Chomas Creations mini gel pen holder!!! WOOWOO!


Don't forget to hop on by tomorrow!!!

Like what you see? Leave a comment to let me know!

Thursday, March 24, 2011

Up for a little blog hoppin???

Saturday March 26th at 6 am eastern (bright and early!) I'll be part of the Disney Pixar blog hop!!!  There are 11 blogs involved and they will all involve, get this, Disney or Pixar!  hehe!!  So hop on by!  There is a facebook event page with more info if you are interested... Disney Pixar blog event page


Like what you see? Leave a comment to let me know!

Wednesday, March 23, 2011

Baby Blues with Chomas Creations embossing kit

It is so fun to look through photos and find these treasures!  The days of baby fine hair and brand new teeth!  Now my little guy is a busy 4 year old, a lot has changed! 
For this page I used the Chomas Creations embossing kit on vellum to emboss the lines on the background.

The title was done with the Chomas Creations mini gel pen holder and Doodletype, then colored in with the Copic markers.

Of course the journaling circle was also done with the Chomas Creations mini gel pen holder!  The embellies are Making Memories.  I also made the frame around the photo with the Chomas Creationg mini gel pen holder and Copics as well.


Like what you see? Leave a comment to let me know!

Tuesday, March 22, 2011

Live Love Laugh artist printers tray with the Chomas Creations engraving tip

I've been wanting to do this artists printers tray for quite awhile now!  And I recently took new photos of my kids, so it was the perfect time.  The openings were 4x6, which made it even easier to do.
The products I used are from American Crafts Dear Lizzy line.  The material was adhesive, so I cut it to 4x6 and added it to my frame.  The ribbon was adhered with Zip Dry, my fav glue for ribbon!  The elements were part of the Dear Lizzy line and already adhesive.
The title was done with Doodletype where I welded it in Design Studio, and the hearts were engraved into Core'dinations cardstock with the Chomas Creations engraving tip, and then lightly sanded, then cut into circles to add my title on.

Click on the photos to see them better close up!


Like what you see? Leave a comment to let me know!

Monday, March 21, 2011

Using the Chomas Creations mini gel pen holder in the Cricut

I'm hoping this is an easy to follow tutorial on using the Chomas Creations mini gel pen holder in your Cricut!  Feel free to ask any questions in the comments and I will answer them there!  The file to download will be at the bottom of this page.
I generally like to draw with the Chomas Creations mini gel pen holder before I cut.  Just don't want the cuts moving around on me on my mat!
So I start by putting the mini gel pen into the holder.  The point faces out of the big hole, and the flat end goes in.  The small hole is only for the removal of your gel pen (I use whatever is handy, a pen, scissors, stylus, etc...  There is no need for a special tool)

Add your paper to your mat, and put it in the Cricut.  I like to add a piece of scrap paper on top of my paper when I am putting the gel pen into and out of the machine so I don't accidentally write on my project.  The pen goes in place of your blade holder.

I'm using Cricut Design Studio with Birthday Bash for this card.  I named the page I wanted to draw with the blue mini gel pen the blue page.  I used medium pressure and hit the cut button in DS to draw the birthday hats.

Now without removing the mat from the machine, I added my scrap paper, took out the blue mini gel pen, and replaced it with a red mini gel pen and put it back into the machine.  I then use the red layer in DS to draw the birthday hats.

Again leaving the mat in the machine, I took out the red mini gel pen, and added my blade back in.  I then cut the cut page in DS for the card.

Now you can remove the mat from the machine, this is what you will have...

I then added a layered title to the card and some stickles at the bottom!

If you would like to try to recreate this card, the file is available here... birthday hat card
Like what you see? Leave a comment to let me know!