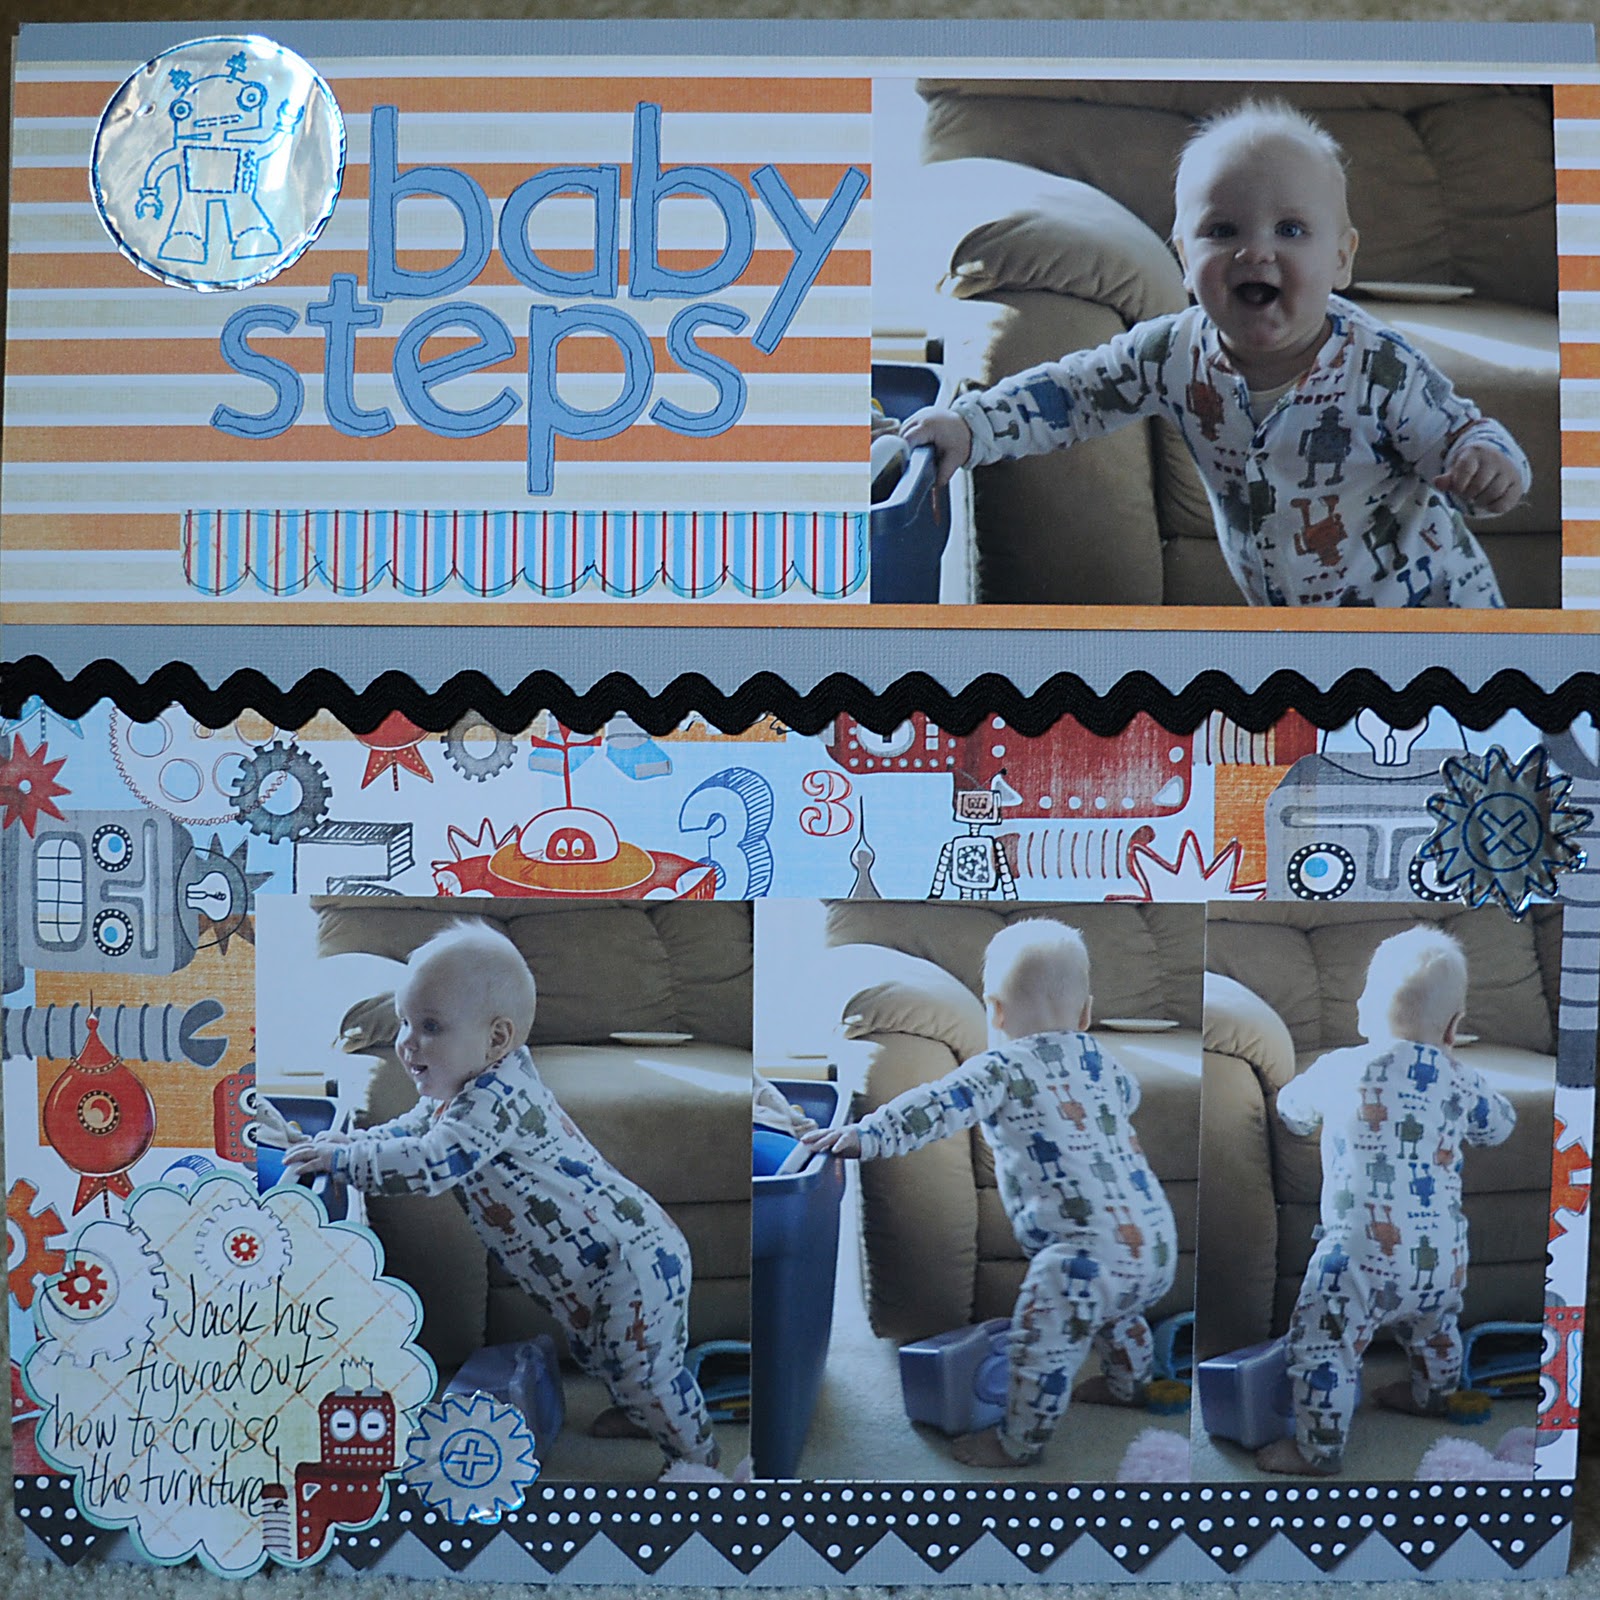
I think one of my fav parts of the mini Sharpie holder (besides the fact that it has a fine tip) is that there are 24 different colors of mini Sharpies available out there and I can always find a shade to match whatever project I'm doing! Here is a simple layout of my little guy learning to walk (he is 4 now, eeeek!). I drew the robot designs in Design Studio and layered them, and drew the little robot and gears with the Robotz cart on Quickutz metal sheets. Then without removing the mat, I changed out the mini Sharpie holder for the blade housing, and cut around them. Super easy!
Like what you see? Leave a comment to let me know!


5 comments:
I love the layout.cant wait to get my mini gel pens. did you say you cut out the metal sheets w/ the cricut blade.what settings did you use and did it dull the blade. thanks K
Great Layout!!! I have the other mini gel pens, but use them. I might have to pull them out. LOL Need to find first. TFS
Super cute - layout & baby!
K, yes I did cut it, it is a bit different of a metal and is made for die cutting machines. I used max pressure and blade depth of 6, and I use a blade I dedicate to cutting metal. Amy
He is 50 cute. Great lo. TFS 1.
Amanda
Post a Comment